?????????????
???????????????
??????????????????
????????????????????
???????? ?????
??????? ?????
?????? ????
???? ???
???? ???
??? ??
??? ???
?? ???
?? ????
?? ???
? ??
? ??
? ?
? ??????? ??????? ?
? ?? ?? ?
?? ?
? ? ?????? ????? ???
? ? ?? ? ? ? ? ? ? ? ?
? ? ? ? ?
? ? ? ?
? ? ?
? ? ?
? ? ?
? ? ?? ?
? ? ? ? ? ?
?? ?? ?? ? ?
? ???? ? ?
? ?
? ? ?
? ????????????????? ?
? ? ?? ?
? ?? ?? ?
? ???????? ?
? ?
? ?
? ?
? ?
? ?
????????????
Using XLIFF for localization in Xcode
As every developer probably knows there are three types of problems; problems that are easily fixed by making use of the tools that Xcode provides, problems that are solved by the community of developers and problems that are a pain and you just have to deal with.
At Noodlewerk, we already had a workflow for Localization within Xcode (later on, I will give a more in-depth explanation). This allowed us to succesfully localize our apps, but it was always a pain to do it, even with third-party tools from the developer-community. But no more of that! Apple introduced a feature at WWDC 2014 (Session 412) using XLIFF file format. In this blogpost I will describe a pretty decent workflow within Xcode that makes localizing your app a breeze.
Localizing your app
Localizing your app can be devided into two steps. The first step in any Localization-workflow is preparing all the strings that should be translated, in short: all user-facing text. The second step is then to add a translation to your app. It is as simple as that! This blogpost mainly focussed on step 2, because that is the tricky part. ;)
Preparing strings for localization
Xcode provides the developer with (roughly) two ways preparing your strings for localization, both with their own advantages and disadvantages. You do not have to choose one of these two methods; you will probably combine the two.
The first way is by creating an IBOutlet every object to the corresponding view controller and set the value of the text to a NSLocalizedString
NSLocalizedString(key: String, comment: String)When using NSLocalizedString by default the Method will ask for a key, tablename, bundle, value and comment. You only have to fill in the key and the comment, the rest is optional. It is best to be as descriptive as possible when entering the comment, because this is what the translator will see when translating your app.
It is possible to create outlets like this for your entire app. It does require a lot of manual labor, especially when you are working on a complex application. Besides, you will run into all sorts of problems when using for example tableview views.
The second way is by letting Xcode generate a string file of all the strings in your storyboard. This requires only a couple of clicks and you’ll have all the strings in your storyboard in one place, ready to be translated. The downside of this way of working is that it is not transparent in how it functions.
A practical example
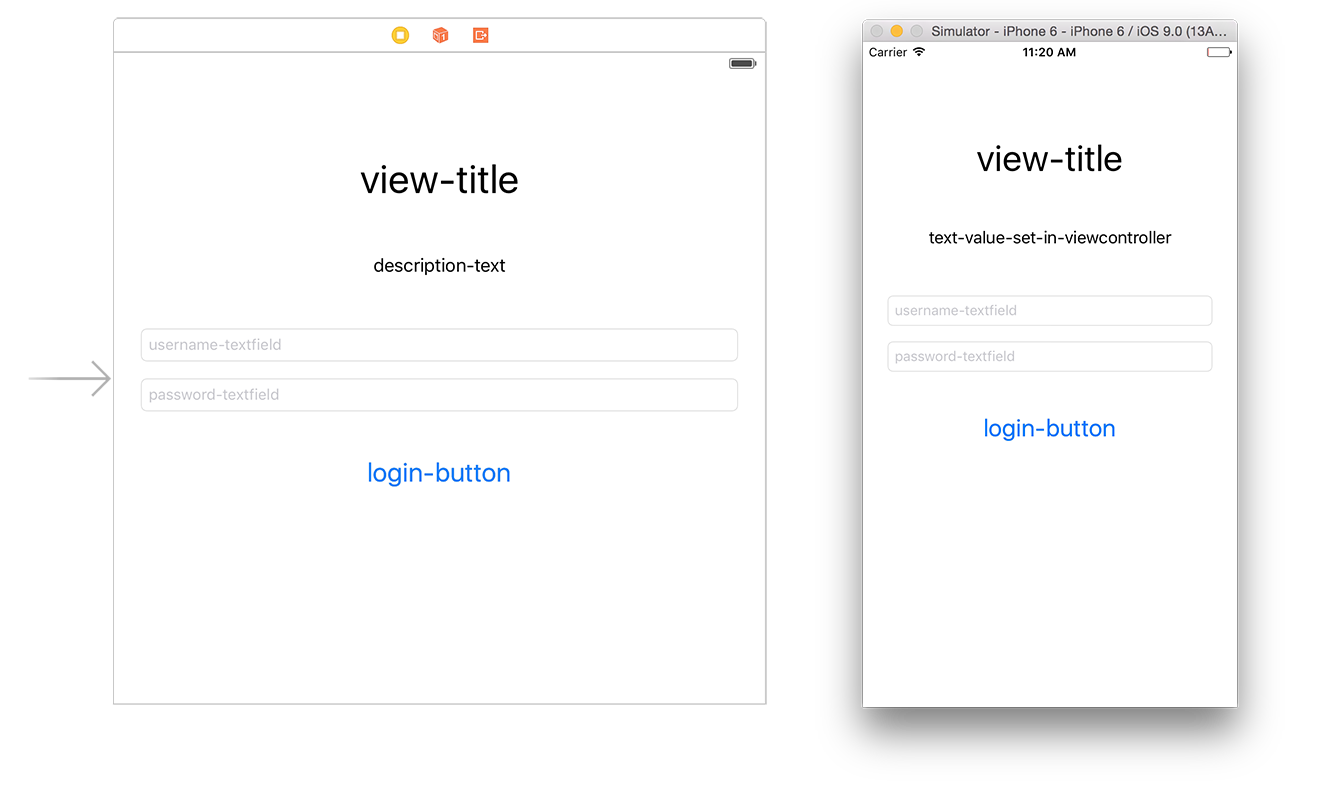
To explain how localizing strings in your project works I’ve set up a small example. In this example I combined both ways I mentioned earlier. The example is a typical Login-view. The view has a couple of typical items with a text-value which every app uses in abundance: labels, textfields and a button. In this example I gave all the text-values a placeholder text. These texts are definitly not the texts I want in the app when it’s done. To enrich the example the ‘description-text’-label has an outlet to the viewcontroller and it’s value will be set by a NSLocalizedString, like this (because this enables you to change this line of text programmatically):
class LoginViewController: UIViewController {

    @IBOutlet weak var descriptionTextLabel: UILabel!

    override func viewDidLoad() {
        super.viewDidLoad()
        descriptionTextLabel.text = NSLocalizedString("text-value-set-in-viewcontroller", comment: > "A short line of text between the title and the textfields.")
    }
}
In the image below it shows what the app looks like in the storyboard and in the simulator. You can see that the text of the description-text is different in the simulator. Nothing special, but for this example it will demonstrate a very common problem in certain workflows and, at the same time, it will show the power of XLIFF.

Translating your strings in Xcode with generated strings-files
First of all, let me be clear about this workflow. I do not recommend going down this path! I do want to cover this workflow, because it is quite understandable that a developer goes down this path and you can get pretty far doing so. However, you will run into problems and you’ll end up cursing at everything. Trust me, at Noodlewerk we have experience in that field.
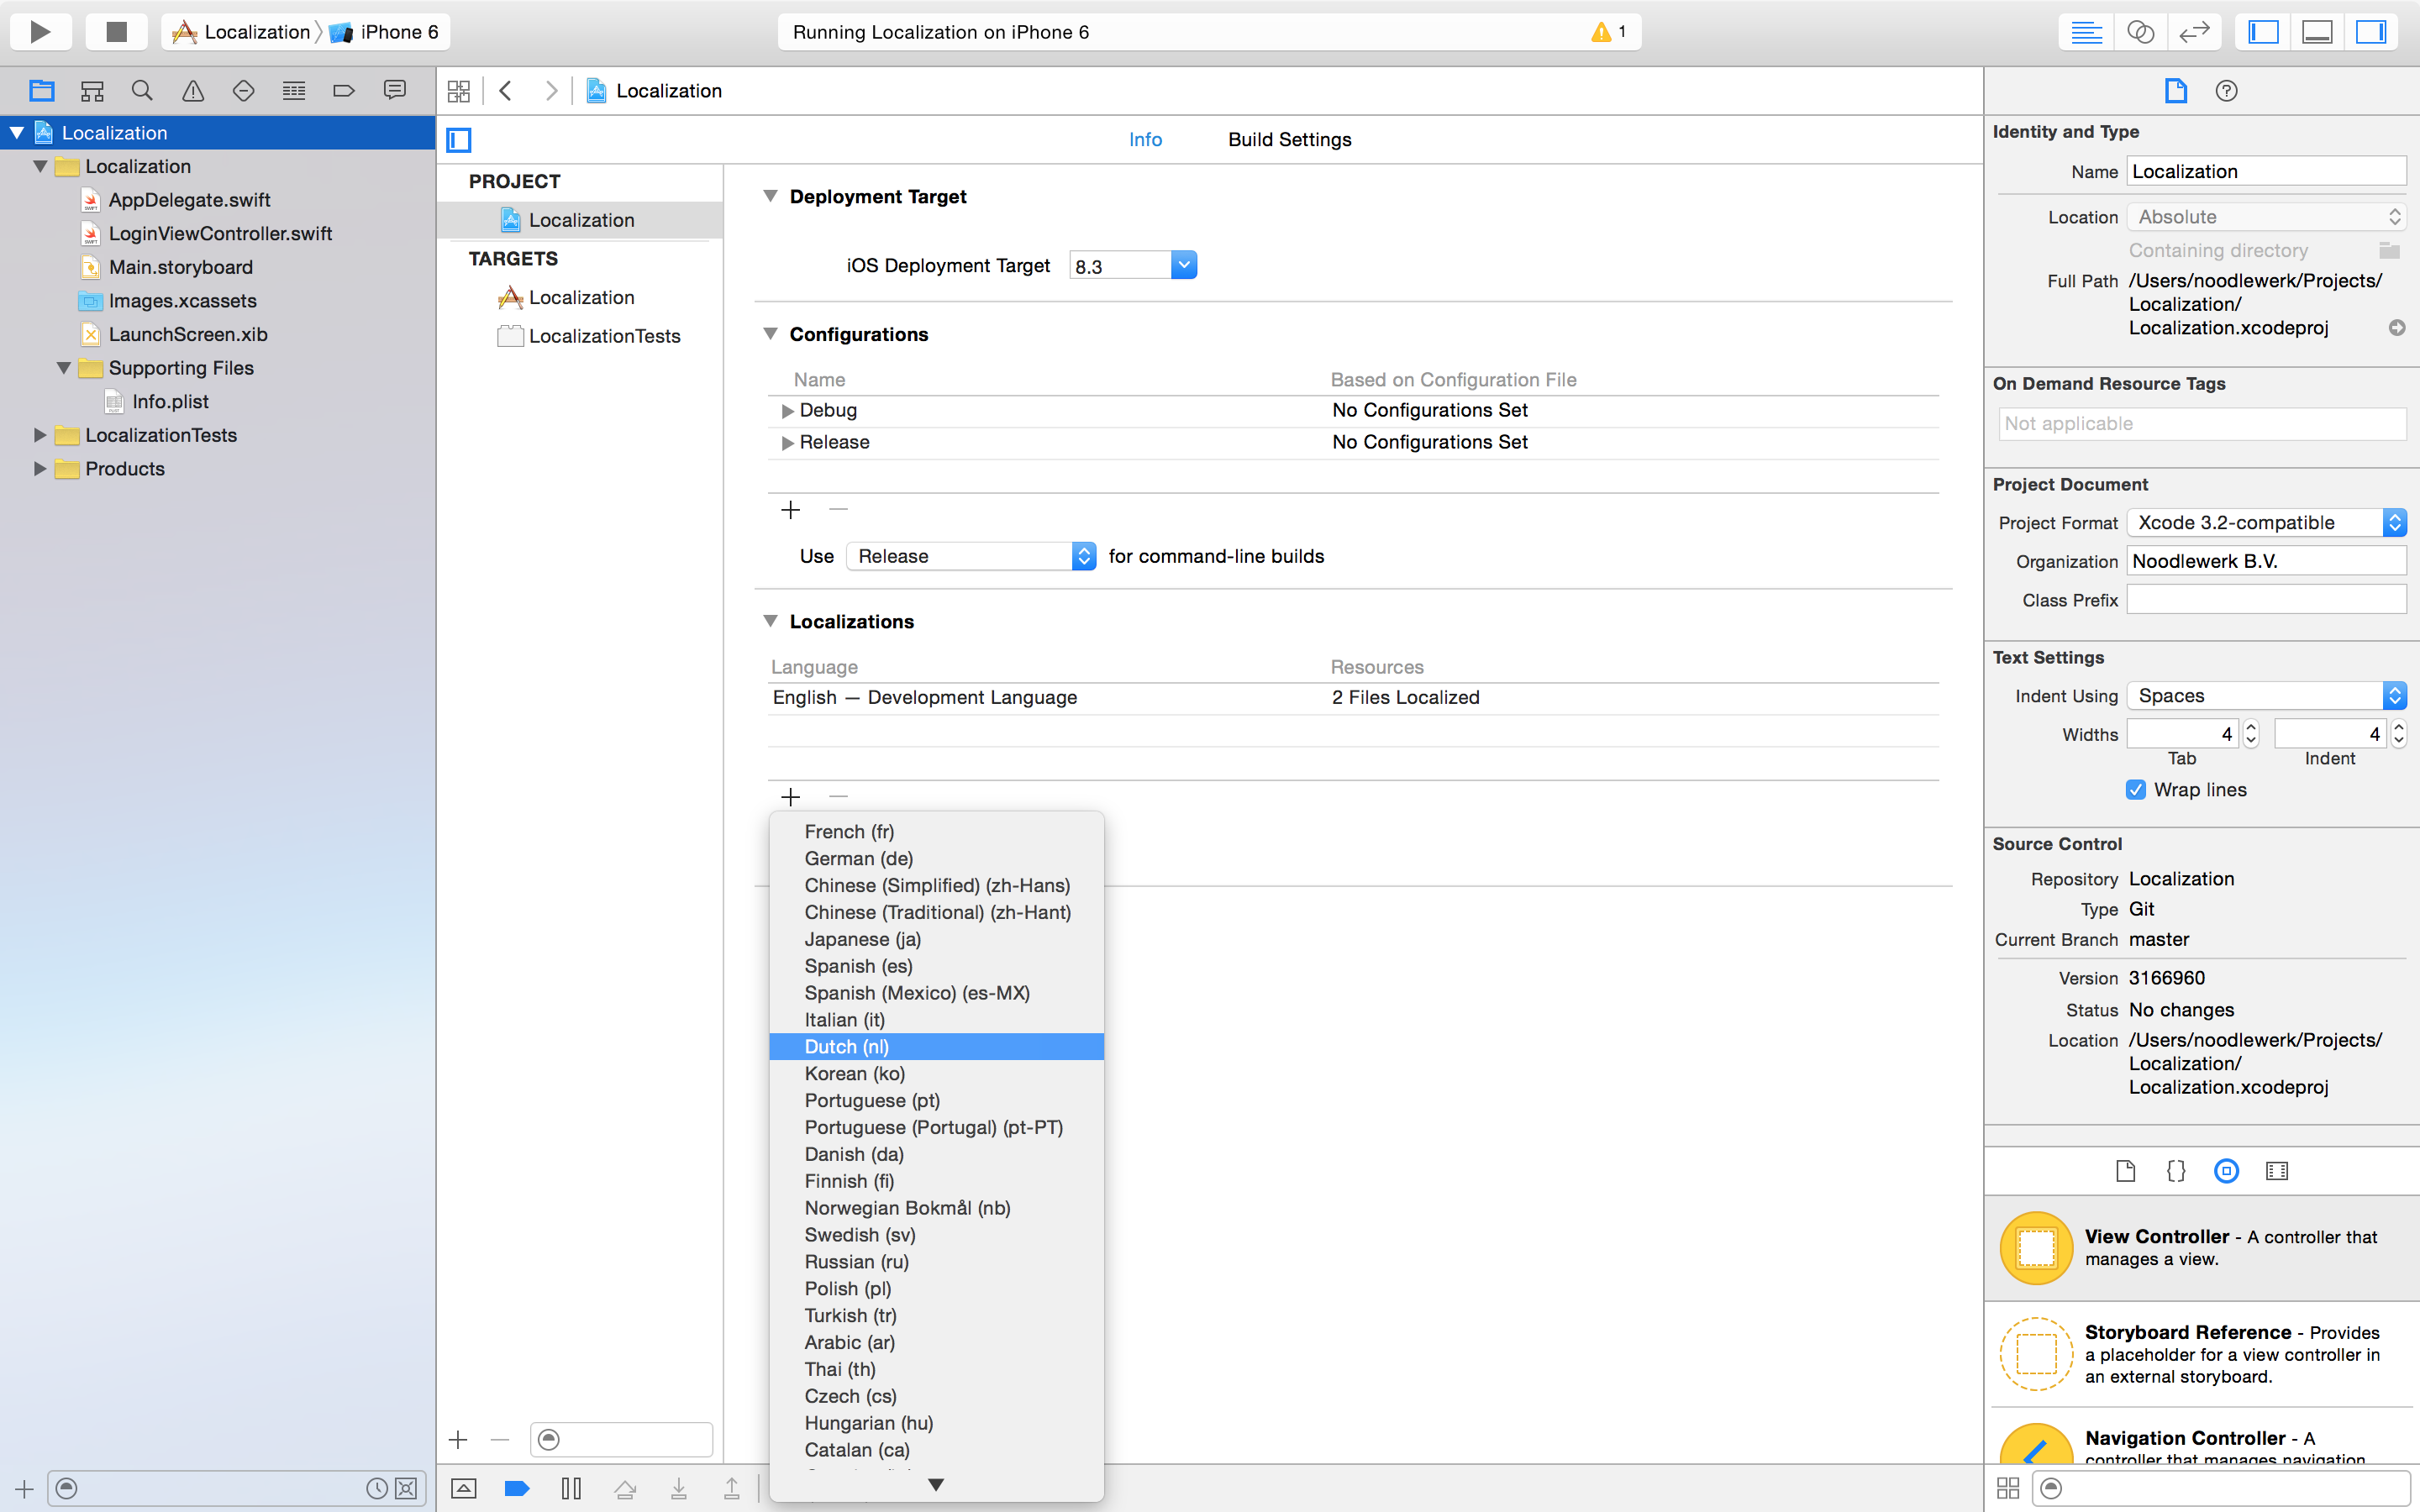
In this workflow the first thing you’ll have to do is selecting your project in the Project Navigator and, in the ‘Info’-tab in the project settings that is presented in the middle, add a language in the section Localization. I will add Dutch as a language, because I am Dutch.

Xcode asks you to select which storyboards and xibs you want to be translated. In the example, I only want the storyboard-file to be translated. After confirming this Xcode will generate string-files with all the strings per storyboard.

The content of Main.strings (Dutch) is the following:
/* Class = "UIButton"; normalTitle = "login-button"; ObjectID = "JxI-gF-4bE"; */
"JxI-gF-4bE.normalTitle" = "login-button";

/* Class = "UITextField"; placeholder = "password-textfield"; ObjectID = "Omb-XY-h8s"; */
"Omb-XY-h8s.placeholder" = "password-textfield";

/* Class = "UILabel"; text = "description-text"; ObjectID = "SfU-pu-eHV"; */
"SfU-pu-eHV.text" = "description-text";

/* Class = "UITextField"; placeholder = "username-textfield"; ObjectID = "T8a-hm-lDV"; */
"T8a-hm-lDV.placeholder" = "username-textfield";

/* Class = "UILabel"; text = "view-title"; ObjectID = "a1b-1B-MkE"; */
"a1b-1B-MkE.text" = "view-title";
Every item from the storyboard is mentioned by type and placeholder text. Xcode also generated ObjectIDs for every Object in your view(s). You are now free to translate all the strings within Xcode by changing the values after the ‘=’ sign.
This seems to be working… But we already run into one problem. Remember that I created an outlet for the label with the value ‘description-text’? The value I want on screen is not set in the storyboard and therefore not in this list of strings. You could use something like genstrings. This will gather strings from your classes and generate another strings-file. But now your localization will take place in multiple files, which is not ideal…
And there is another problem with this workflow. When I’ll add for example by a ‘forgot-password’-button and I want to translate the value of the newly created button in the Main.strings (Dutch), the ‘forgot-password’-button is not to be found in the list of strings. It seems that Xcode does not automatically update Main.strings (Dutch). You could ofcourse delete your language in your Project Settings and add it again, but that would also delete every translation you already did. The same goes for the file that genstrings generated for you.
From this point on a smart way of updating those strings-files would probably do the trick and that is where the frustration comes in.
Using XLIFF to translate your strings.
There is a way that does not require updating your strings-files. That’s by using XLIFF. XLIFF is an XML-based format created to standardize the way localizable data are passed between tools during a localization process (source wikipedia). Since Xcode 6 it is possible to use XLIFF-format for localization.
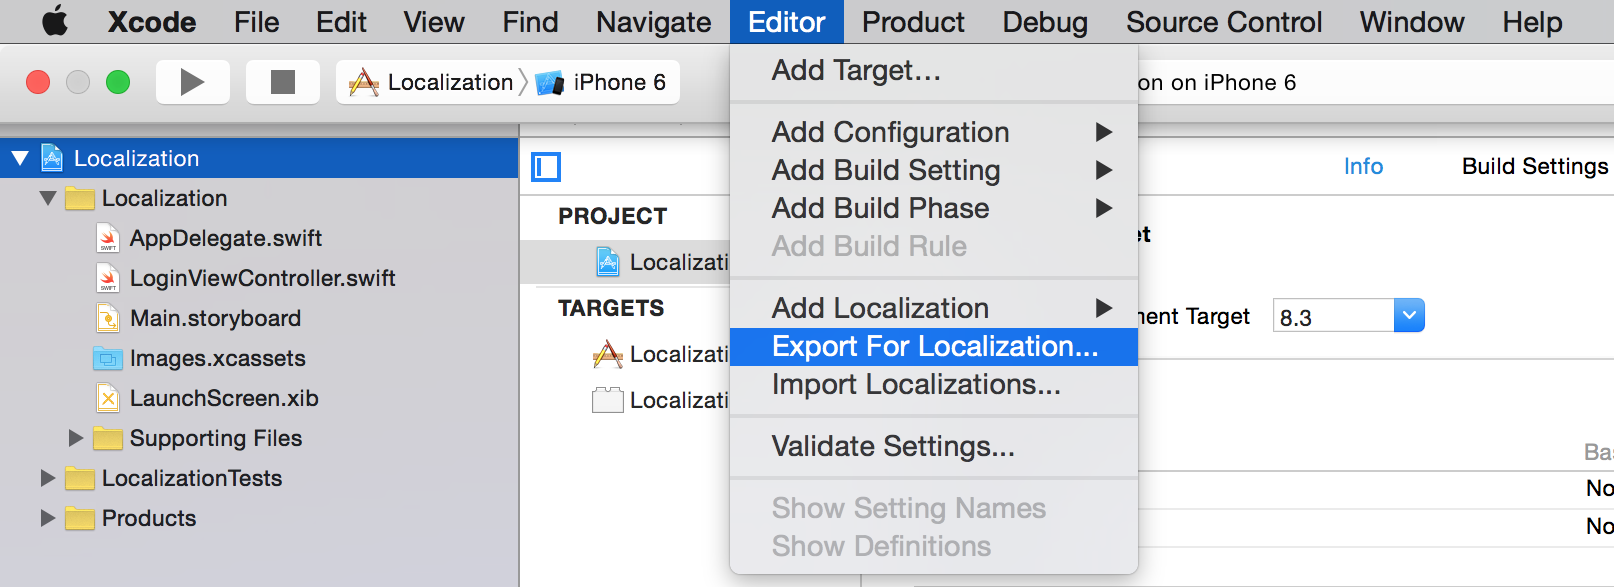
Let’s go back a couple of steps, to the point where we initially selected our project in the Project Navigator and try again, but now we will be using XLIFF. With your project selected in the Project Navigator you should select Editor >Export for Localization… in the taskbar.

This will prompt a Save Dialog Box. On the location of your choosing Xcode will create a new folder with the name of your project and in it there is one file: (in my case) en.xliff. There are numerous of editors that use the XLIFF-format and I do recommend to use one.
Editing XLIFF-files in a text editor
You could choose to open and edit the file in your favorit text-editor to do the translations. You will find that the XLIFF-file is a collection of all the localized strings of your project. These strings are ordered by file. The different files are recognizable by the following tag:
<file original="Localization/Base.lproj/Main.storyboard" source-language="en" datatype="plaintext">In these files the strings are called trans-units. The trans-units will typically have a source (which is the key) and a note (which is the comment) and look like this:
<trans-unit id="T8a-hm-lDV.placeholder">
    <source>username-textfield</source>
    <note>Class = "UITextField"; placeholder = "username-textfield"; ObjectID = "T8a-hm-lDV";</note>
</trans-unit>
When adding a translation in the text-editor you have to keep in mind that XLIFF works with a structure of source and target. This happens on multiple levels. First you’ll have to add a target-language to the file header, like so:
<file original="Localization/Base.lproj/Main.storyboard" source-language="en" target-language="nl" datatype="plaintext">Now you can add translations of individual strings, like so:
<trans-unit id="T8a-hm-lDV.placeholder">
    <source>username-textfield</source>
    <target>Gebruikersnaam</target>
    <note>Class = "UITextField"; placeholder = "username-textfield"; ObjectID = "T8a-hm-lDV";</note>
</trans-unit>
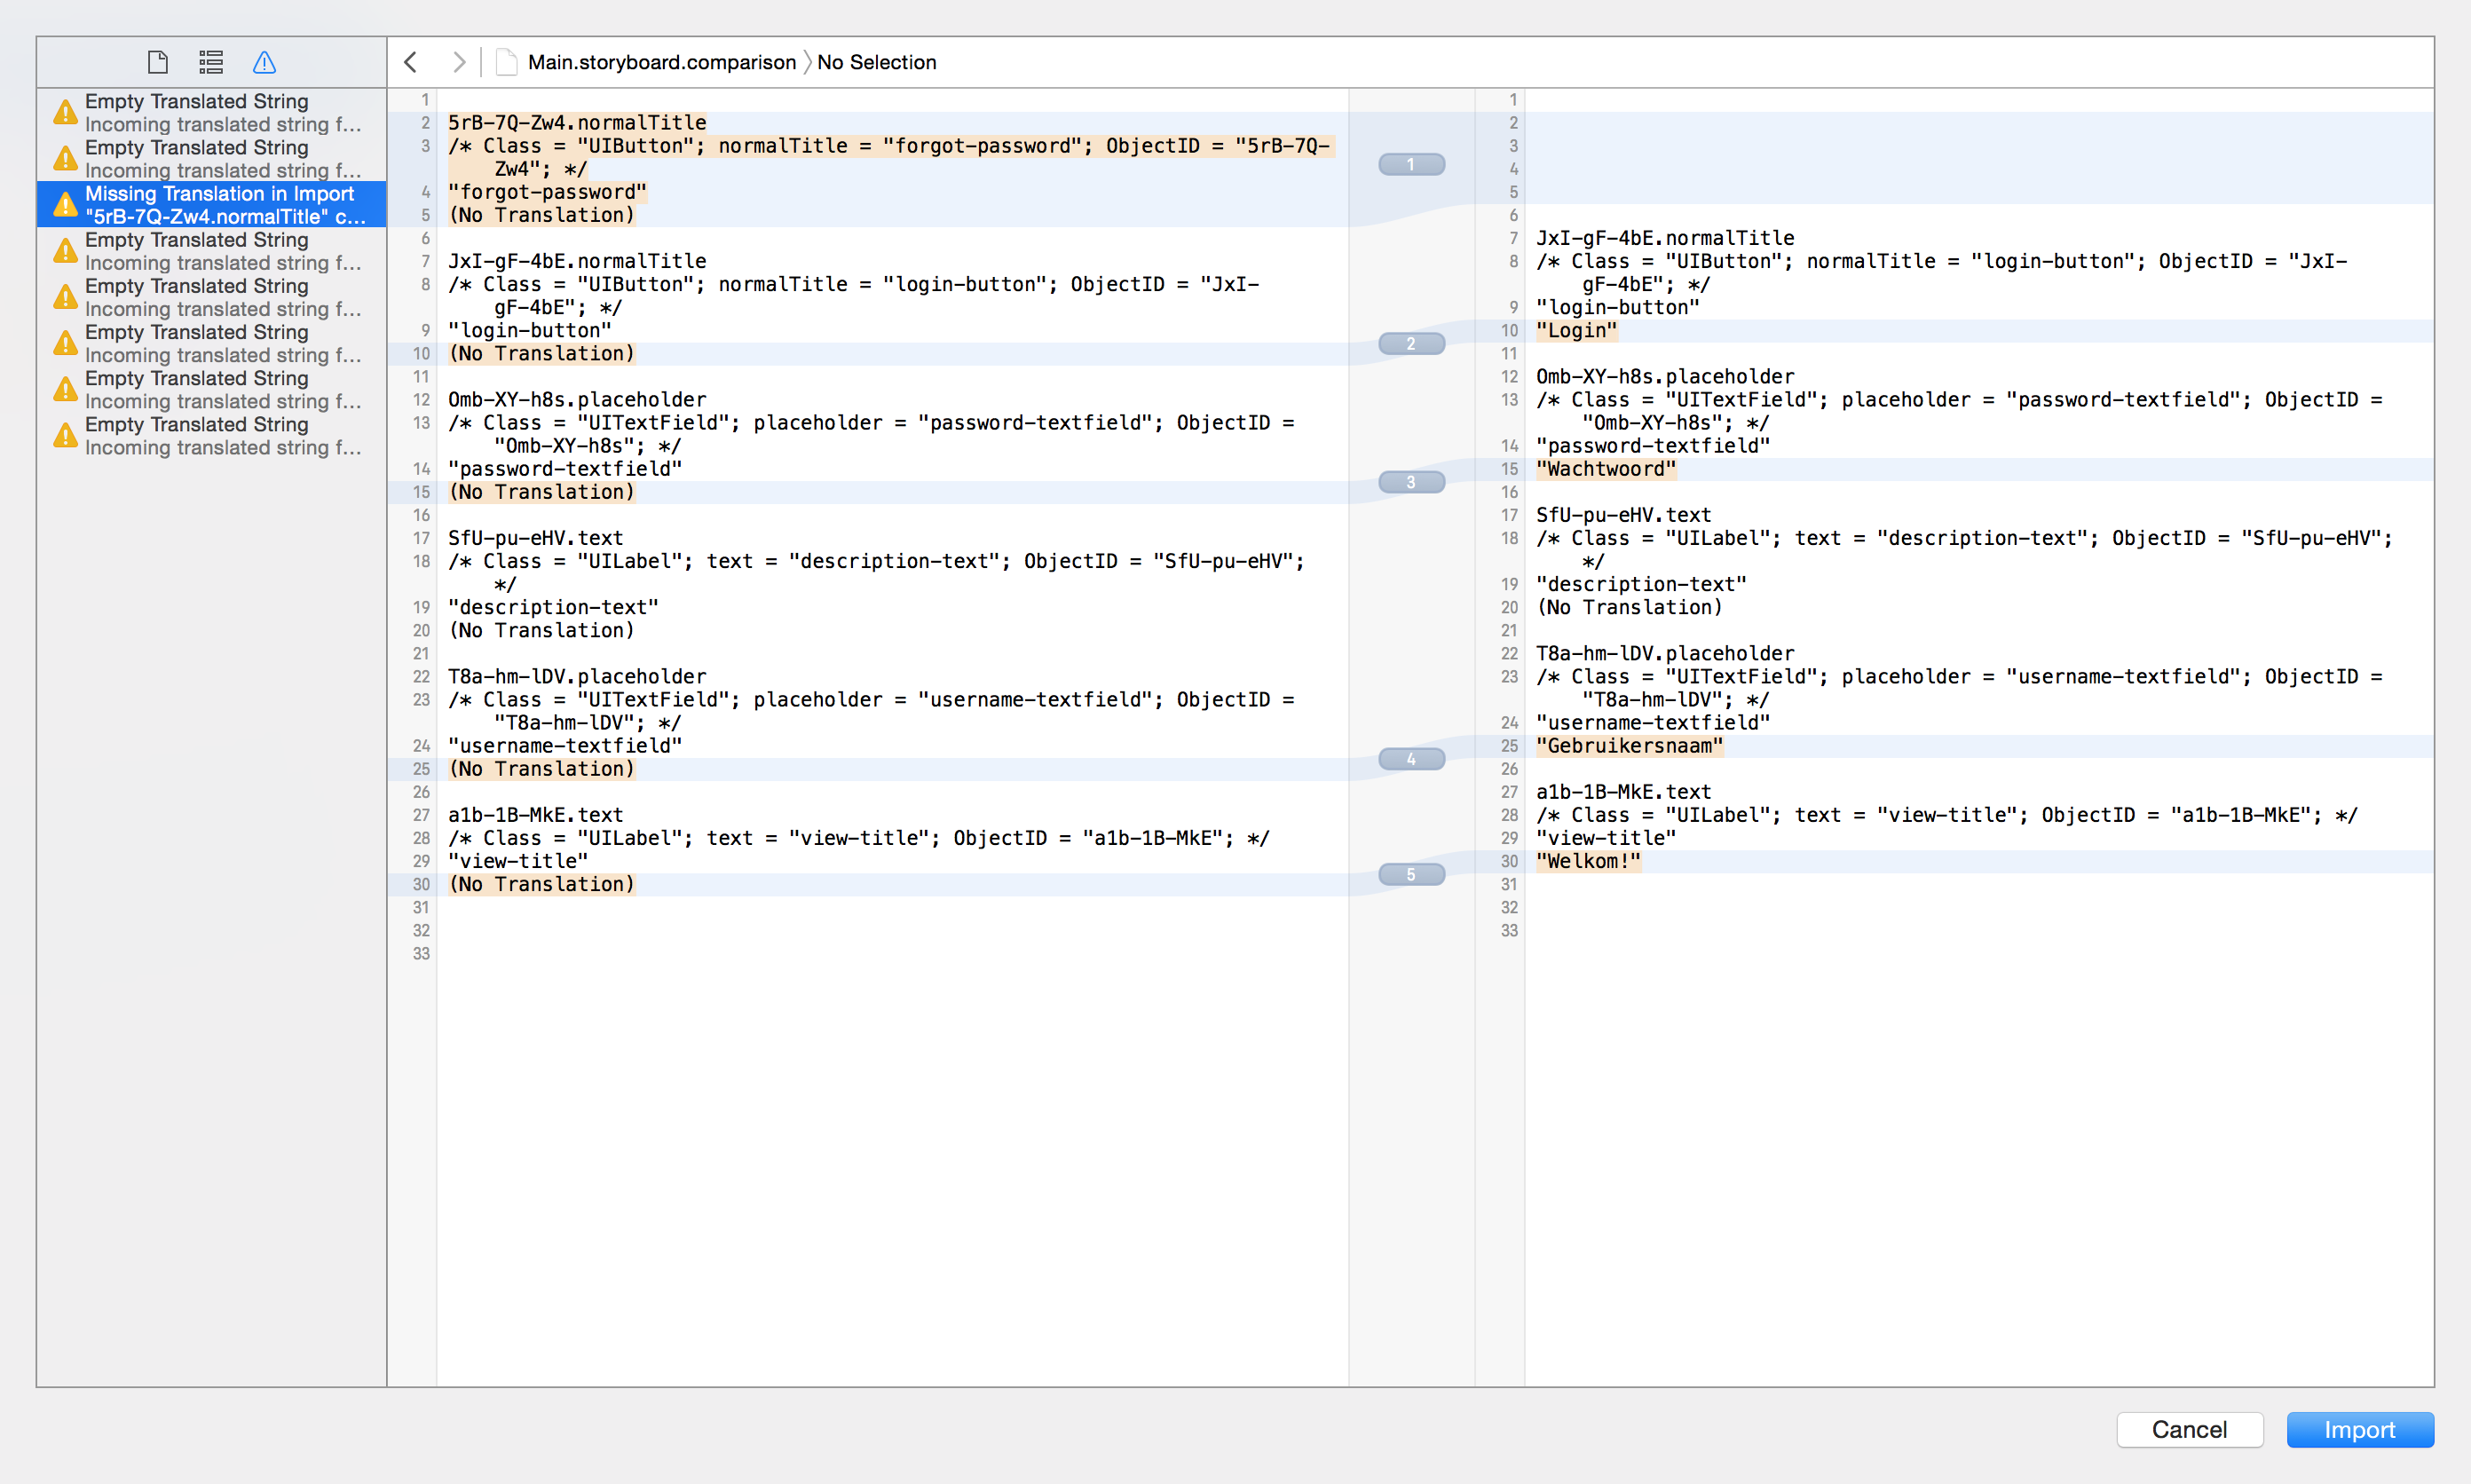
After the translations are done you are ready to import your translations into your Xcode-project. But before I add the translations I’ll add the ‘forgot-password’-button again, because it could very well happen that you will continue on your project and make some changes when the translator is busy translating. I add the translations by again selecting your project in the Project Navigator and in the taskbar go to Editor>Import Localizations…. When I do this I receive a couple of warnings. This is because the XLIFF-file I am importing does not contain a translation for every string in my project, one of which is the ‘forgot-password’-button I added after I exported the strings for translation.

Don’t worry! This is not a problem! For now we’ll just accept the missing translations and import what we have received from the translator. If we now browse the Project Navigator and look up Main.strings (Dutch). We’ll see all the translated strings, but not the strings that do not have translation, so we can not add those missing translations in Xcode. Luckily we do not want that anyway, we want to export strings and send them to the translator.
If we export the strings for the second time the Save Dialog Box is slighty changed. It now allows us to export the existing translations as well. This way the translator will not have to translate strings he already translated, but can just translate the strings that missed a translation.
The wrap up
With Xcodes XLIFF-functionality, localizing your app changed from being a pain to being a breeze and, on top of that, it changed the process of localizing from a ‘waterfall’ workflow into an iterative workflow.
Eventhough, this XLIFF-workflow allows you to localize your app with just a couple of clicks, it is not perfect. You might stil run into some annoyances.
For example, when you cut and paste an object in Interface Builder when you already have your app localized. Xcode will recognize this as the object first being deleted and then a new object being created. This results in a new ObjectID and this will break the original link with your translations. This means you have to manually adjust the ObjectIDs.
And because the XLIFF-workflow is a bit of a blackbox, you might not figure out why things suddenly go wrong. Luckily, Xcode offers a way of debugging your localizations. More about that in a next blogpost!